📓 3.4.0.9 Setting up a Firebase Project, Firestore Database, and Web App
In this lesson, we will go through the steps to setting up a Firebase account, and setting up a project with a web app and Firestore database. In a later lesson, we will integrate our new Firebase project with our Help Queue application.
Step 1: Set Up A Firebase Account
Firebase is cloud-based so all of our data will be stored in the cloud. We'll start by setting up a Firebase account. Note that in order to set up a Firebase account, you do need to set up a Google account if you don't have one already.
Firebase is free for smaller projects, which gives us the opportunity to explore and integrate projects with Firebase. If we were to build a larger application, however, we'd eventually need to start paying for the service.
Start by navigating to https://firebase.google.com/ in the browser.
Then, click on Get Started. This will take you to a sign in page where you can log into a Google account (or create one if needed).
Step 2: Create a Firebase Project
Once you've signed into your Google account, you'll be taken to the Firebase console, which is the homepage for all of your Firebase projects. You can always access the Firebase console later by going to https://console.firebase.google.com/. Also, once you are logged into your Google account, there will be a Go to console button on the Firebase homepage that you can click to get back to the console.
In the console, we will have the option to Create a Project. According to the docs, a Firebase project is the top-level entity for Firebase. Within one project we can set up databases and different types of apps. For example, one project could have a web app and an Android app that both share the same Firestore database. In our Firebase project, we will create a web app with a Firestore database.
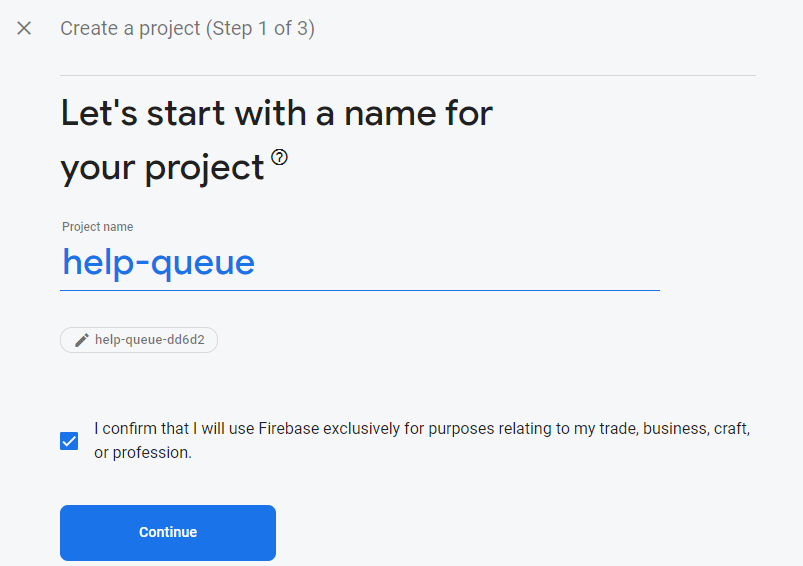
Click on Create a Project. When we do this, we'll be taken to a page where we can name our project. We'll call our project help-queue, and we'll select the checkbox that confirms that we'll use our project appropriately.
The next steps will ask us if we want to use Gemini AI and Google analytics in our project. Feel free to toggle these off, since we won't be using them in our project.
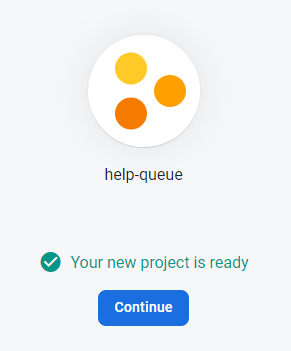
Continue through the remaining steps and Firebase will create your project. Once complete, you'll be taken to the homepage of our newly created Help Queue project.
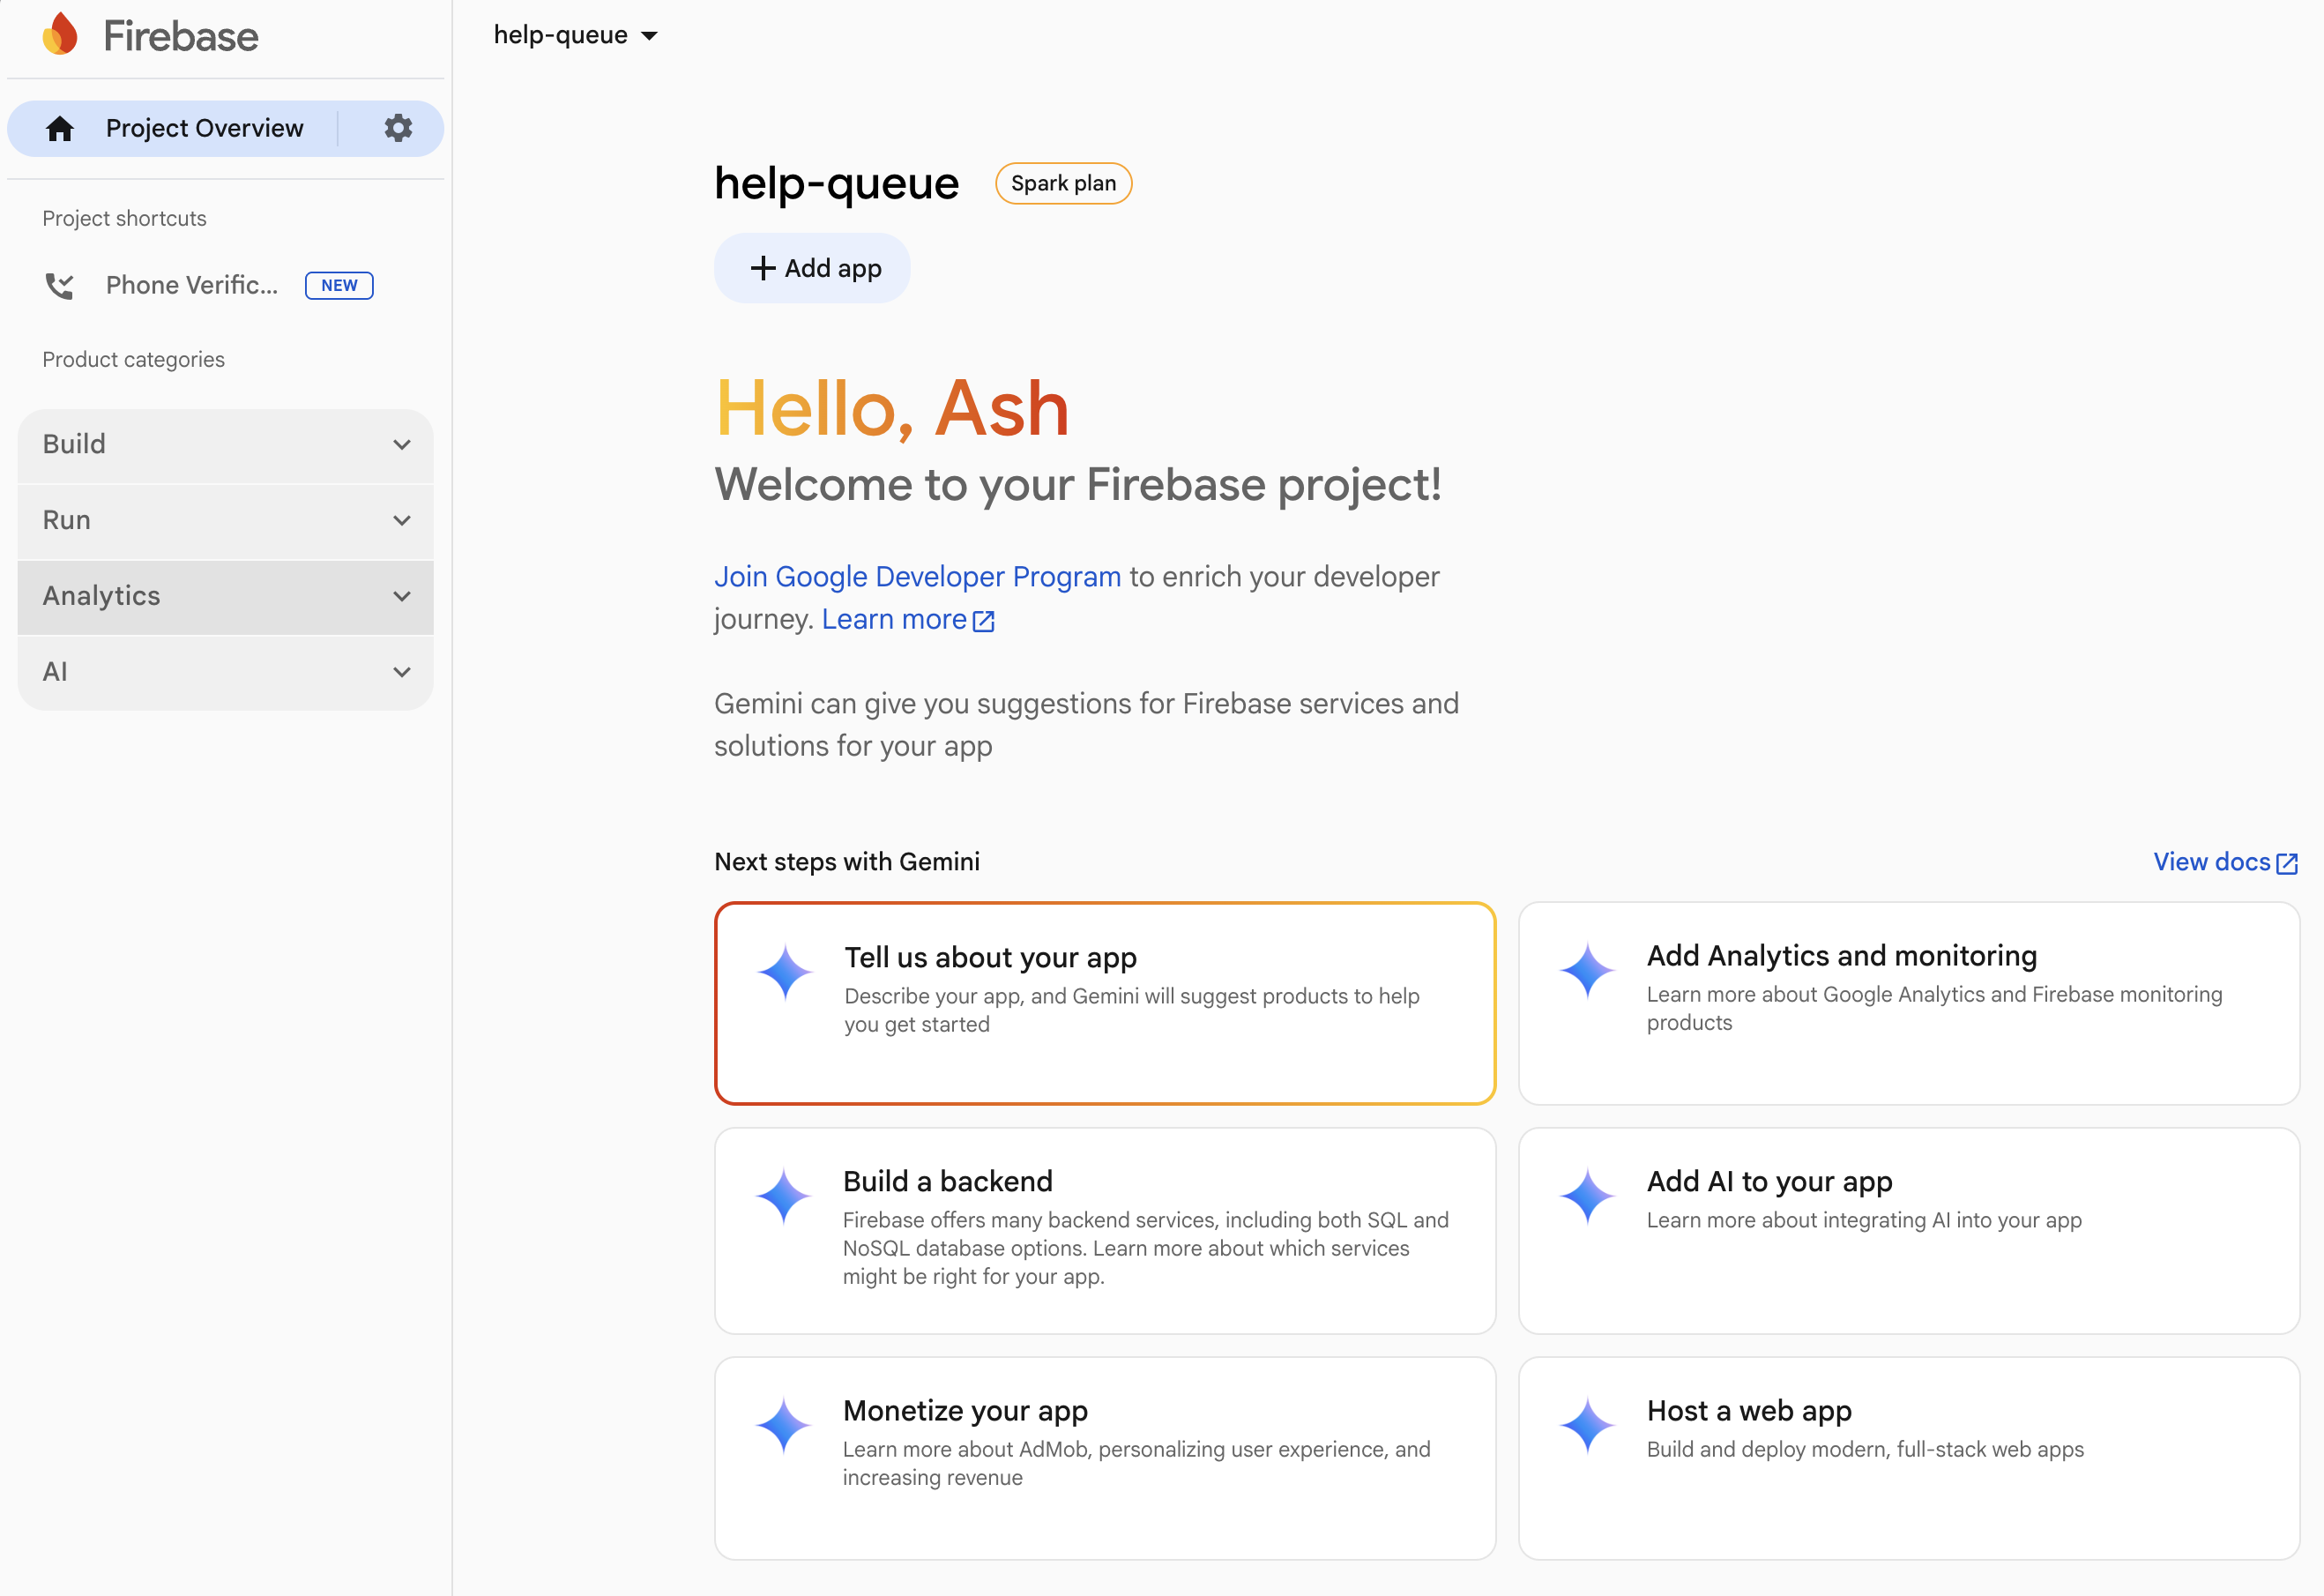
Navigating the Help Queue Project Homepage
Here's what to note on the project homepage:
- The Project Overview button in the top left — click this anytime to return to the project homepage.
- The gear icon (⚙) to the right of Project Overview — this is where you'll find your project settings. We'll come back here later to retrieve our Firebase configuration.
- The help-queue dropdown at the very top of the page — click this to navigate back to the Firebase console and see all your projects.
- The left sidebar has collapsible product categories: Build, Run, Analytics, and AI. Expand Build to find Firestore Database and Authentication, which we'll set up in upcoming steps.
- The + Add app button near the top of the main content area — we'll use this in Step 4 to connect Firebase to our web app.
Step 3: Set Up Firestore
Next, we will set up our Firestore database. For more information on Firestore, check the Firebase docs on Firestore. We will be covering Firestore in more depth in future lessons.
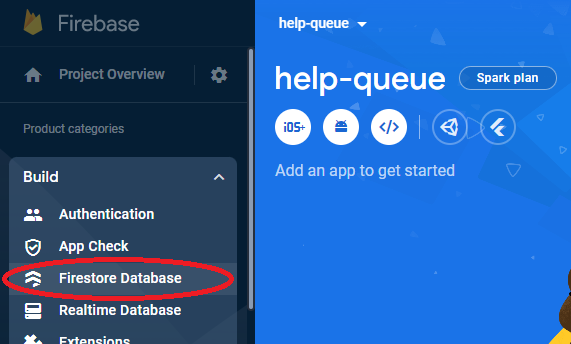
On the homepage of our Help Queue project, click on the Build tab in the left-hand menu, and then select Firestore Database:
You'll be taken to a page similar to this:
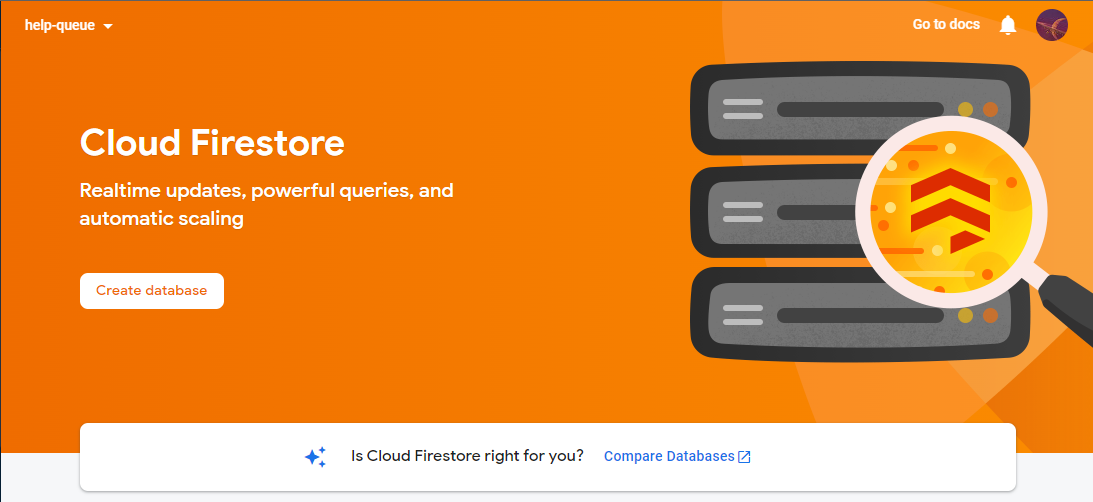
Click on the Create database button.
In the screen that appears, select the defaults for edition and location. You'll then be asked to select a security rule configuration. Select Start in test mode:
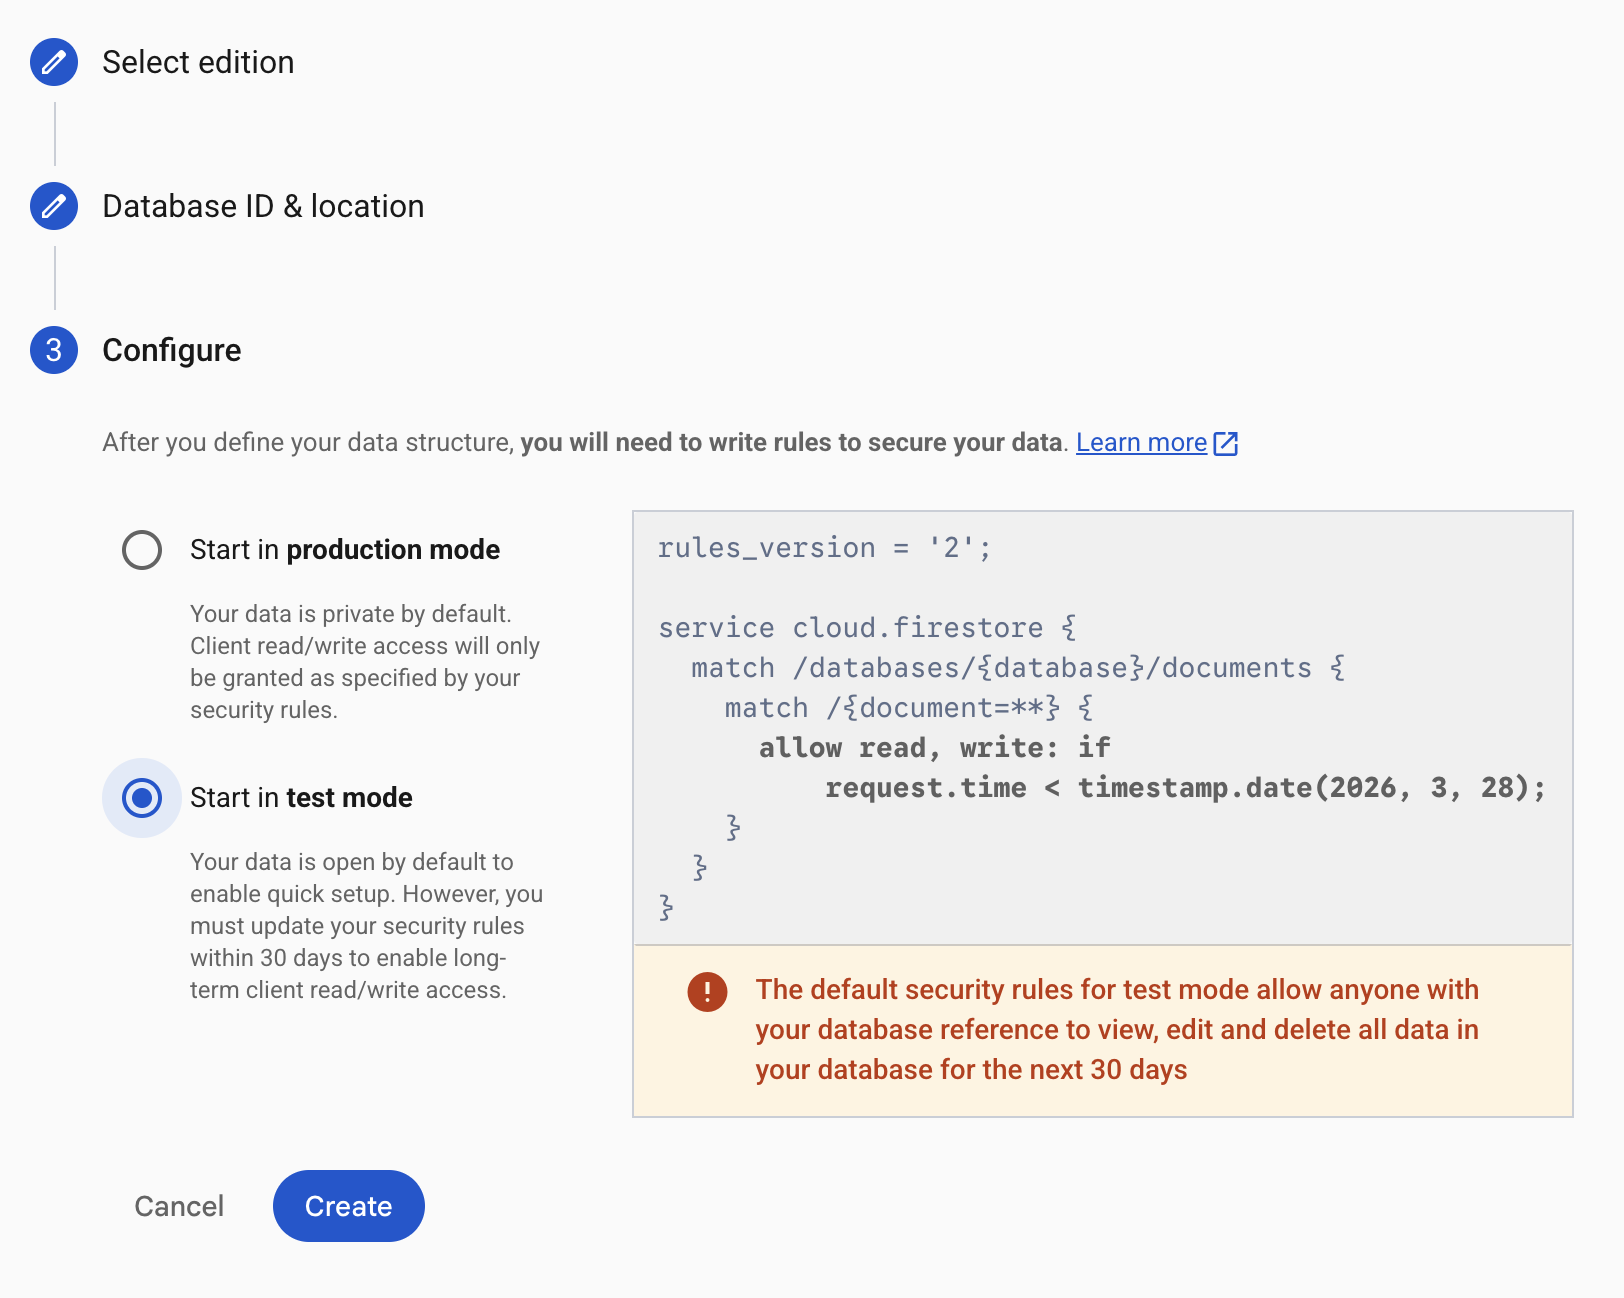
Click Create to create the database.
Once the Firestore database is created, we'll be taken to the Firestore database homepage.
Step 4: Add Firebase to Our Web App
Next, we need to add Firebase to our Help Queue application. First, head back to the Help Queue homepage by clicking the Project Overview button at the top-left of the page.
Then, click the + Add app button near the top of the page, and select the web icon (</>). You'll be taken to a page that reads Add Firebase to your web app.
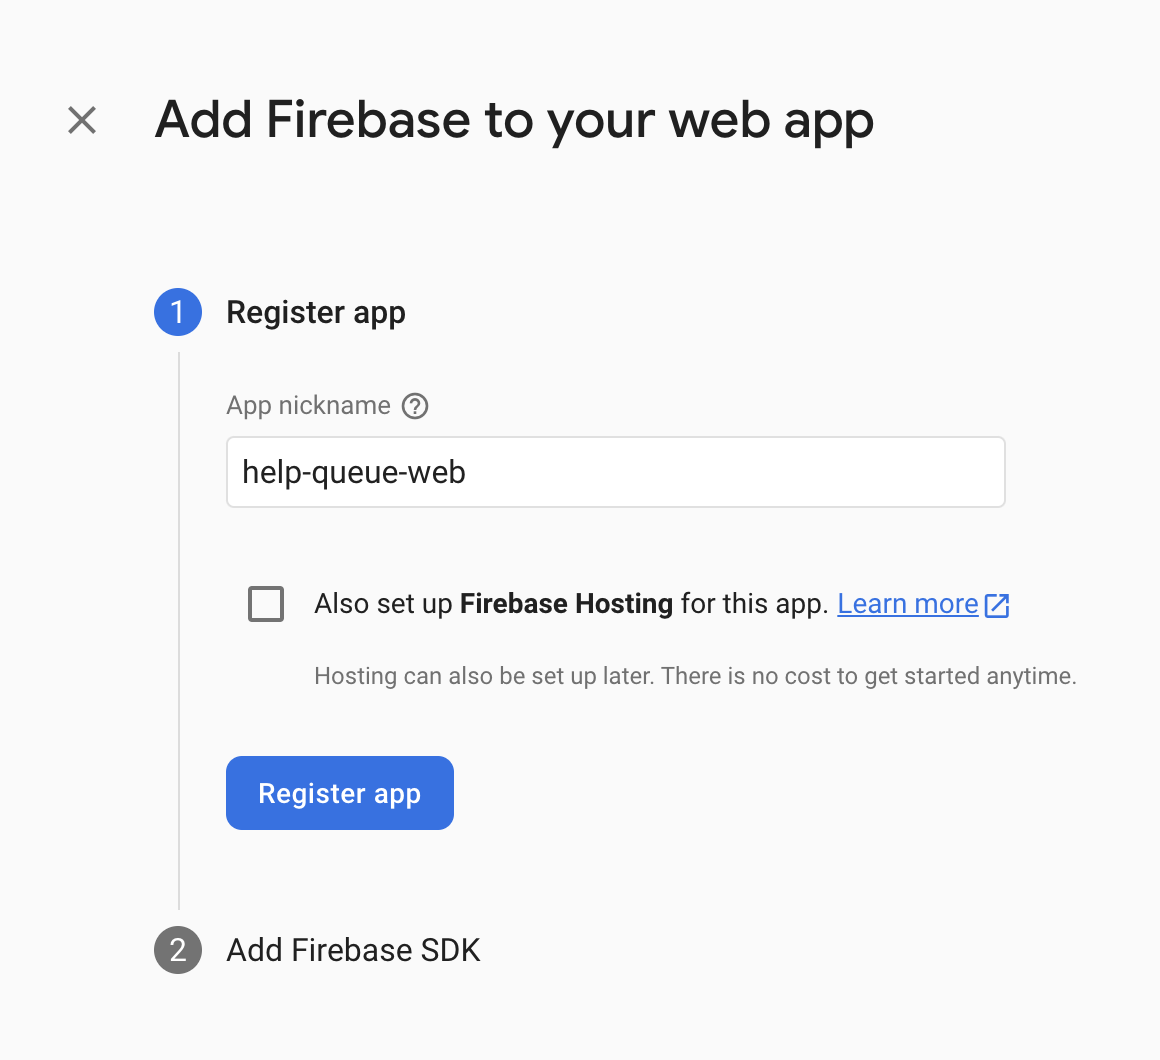
We'll need to enter an app nickname. We'll call ours help-queue-web. The nickname we choose should be something that we can differentiate from other apps that we add to our Help Queue Firebase project. We don't have other apps right now, but this could be a mobile app, or yet another web app.
We also have an option to set up Firebase hosting. This is a nice thing about Firebase — we can also use it to easily deploy our application! We'll be able to set that up later so we won't do it right now. Go ahead and click on the Register app button.
Finally, we'll be given a script that we will include in our source code to configure and initialize firebase in our application. We're not ready to use this script just yet (we will in a later lesson), but we also don't need to worry about copying down this information. We can access it later via our Help Queue project settings.
Click on Continue to console, which will take us back to the Help Queue project homepage.
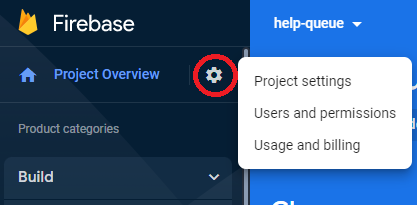
Anytime we need to access the firebase configuration script, we can do so by clicking on the gear icon to the right of Project Overview in the upper-left corner of the screen. Then, click on Project settings, which will take you to a page which includes the script (make sure to scroll down on that page). See the image below for the location of Project settings:
At this point, we've finished all the steps for setting up our Firebase project. In a later lesson, we'll integrate Firebase with our Help Queue application.
Before we move on, let's briefly talk about the read/write rules for our Firestore database.
Adjusting Firestore Read/Write Rules
Let's revisit our database by clicking on the Firestore Database, from the Build drop-down menu. We'll see a UI for our database. Here, we'll be able to see our data once we wire up our database to our Help Queue application and start creating tickets.
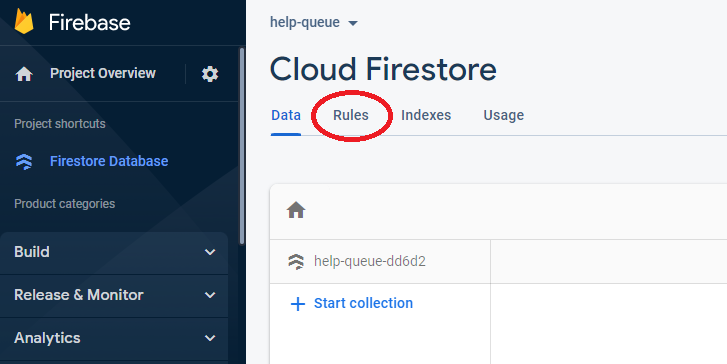
We can update our database's read/write rules by clicking the Rules tab as pictured in the image below:
These are the current rules:
rules_version = '2';
service cloud.firestore {
  match /databases/{database}/documents {
    match /{document=**} {
      allow read, write: if
        request.time < timestamp.date(2026, 3, 28);
    }
  }
}
The timestamp.date will contain a different date than in the example above. That's because the default rules are configured to expire after 30 days from the time that we initialize our Firestore database. In this example, the database was created on February 26th, 2026. Up until March 28th, 2026, anyone on the internet can view, edit, and delete all data in our Firestore database. After that date, all requests will be denied.
These are great rules for getting started with Firestore, but we will need to reconfigure them before the 30 days have ended.
We could update our rules to the following:
// Note that these rules are not secure and should NEVER be used in production!
rules_version = '2';
service cloud.firestore {
  match /databases/{database}/documents {
    match /{document=**} {
      allow read, write: if true;
    }
  }
}
However, we would be updating access so that anyone can modify our database, with no expiration for this rule. This is something we should never do in production.
For development purposes allowing all access may not be as big of a deal — as long as you don't share your database URL. Ultimately, it depends on the security practices of your team and the organization you are working for.
However, if you end up deploying your Firebase project, you'll want to write rules that protect your data. Here are two great resources to help you learn how to protect your data:
- Fixing insecure rules: for information on fixing insecure rules.
- Get started with Cloud Firestore Security Rules: for more general information on writing security rules for Firestore.