📓 Using jsPad
In this lesson, we'll go over how to start a jspad session.
Using jspad
Start A jsPad Project
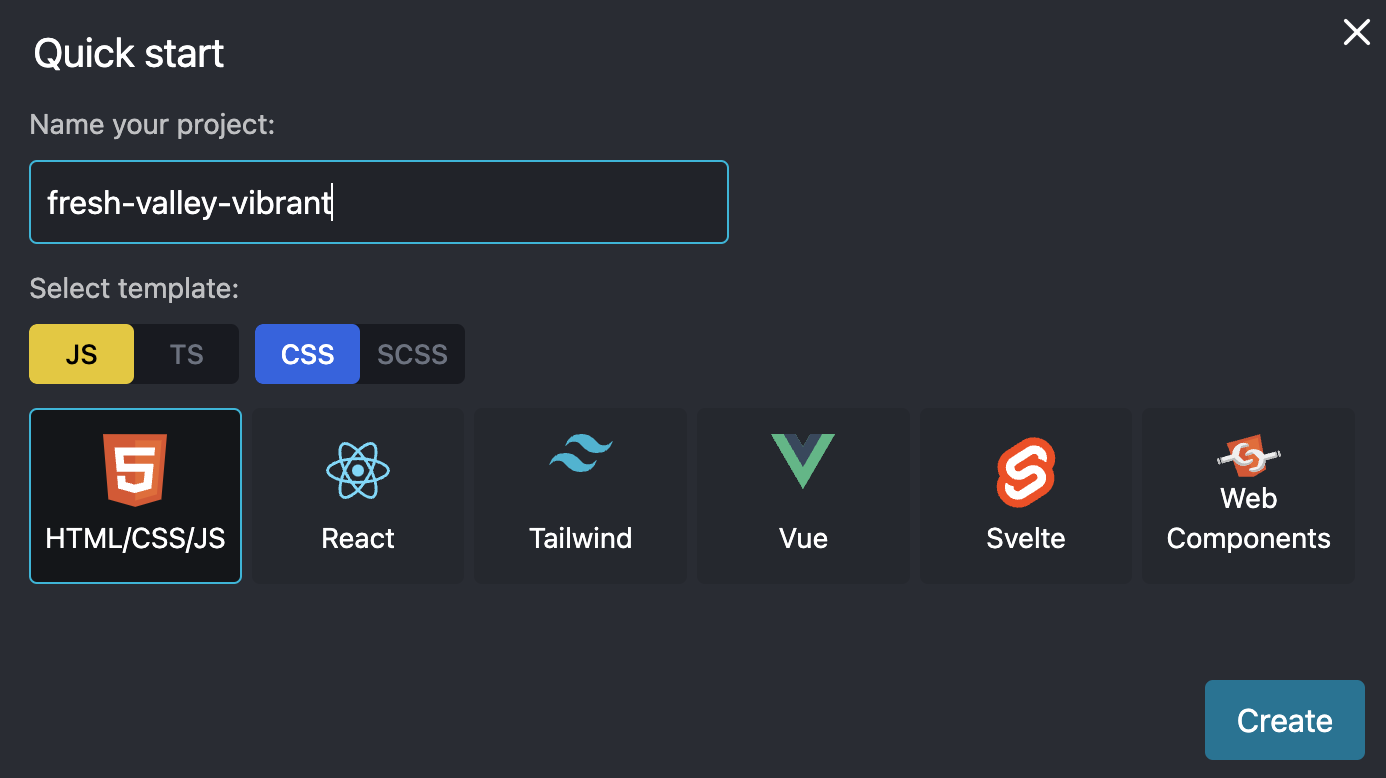
Go to jsPad and you should see a "Quick start" box. It should already have the "HTML/CSS/JS" option selected. If you'd like, you can change the name of the project to something more descriptive like "My First Website". Locate the "Create" button and click it to start an HTML/CSS/JS project.
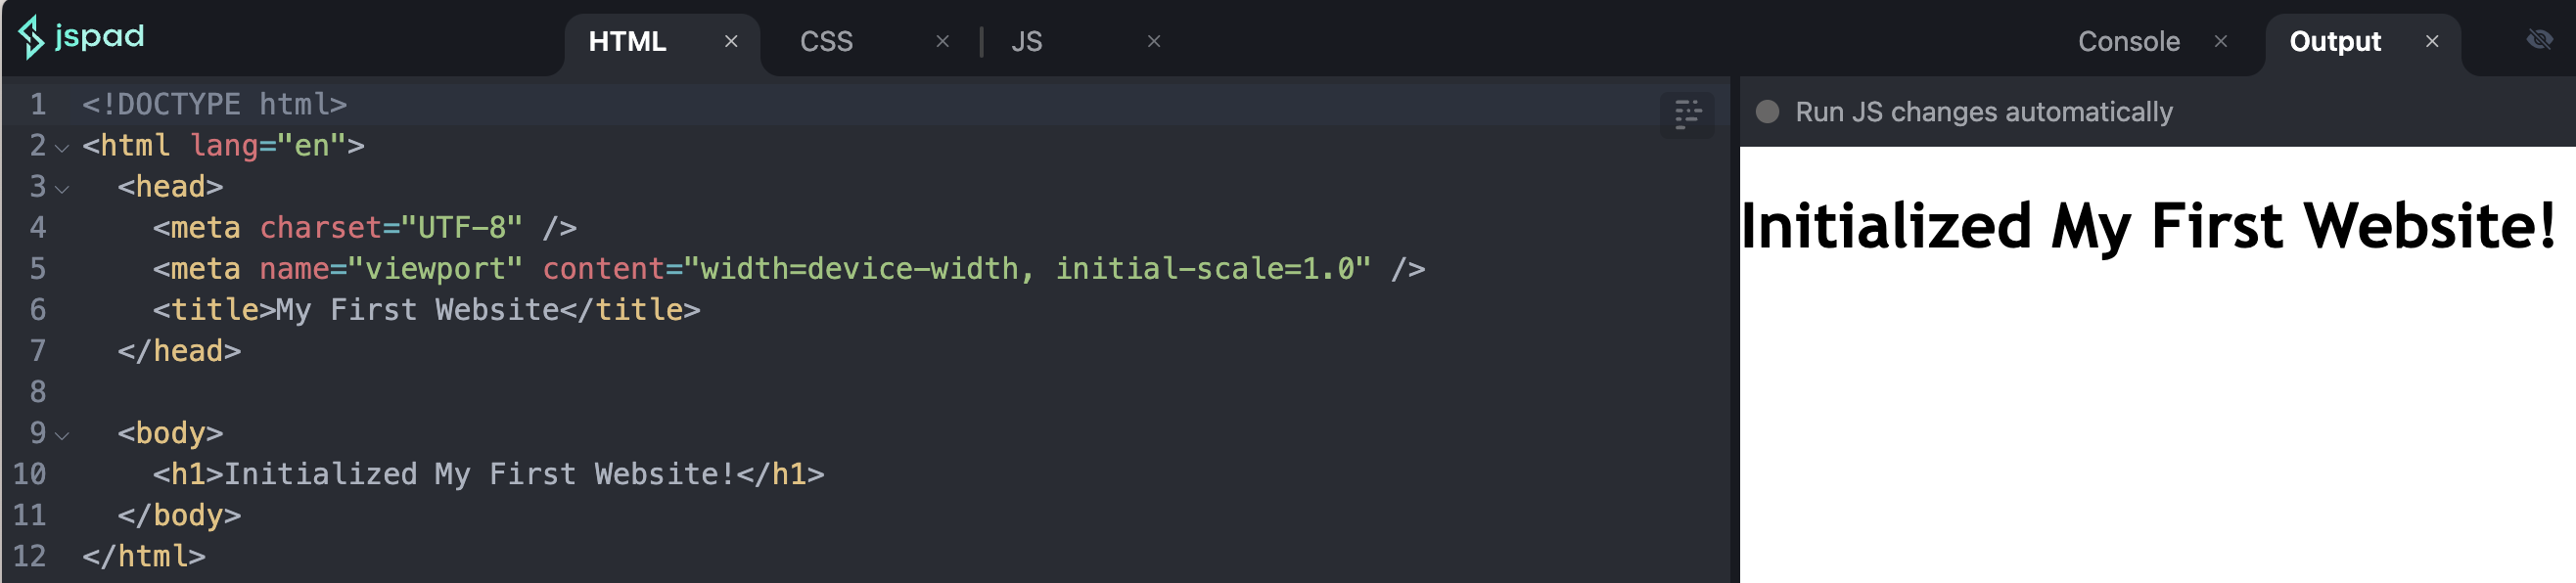
Once you see a new website template appear like in the image below, you are ready to begin!
Navigating jsPad
You should see a project window divided into two sections, as in the image above.
- The left side is a code editor.
- The right side is a preview of your website.
The code editor has 3 tabs at the top:
HTML: This contains our HTML code. We will modify this first.CSS: This is where we will style our website. We can do things like change colors, fonts, margins, and so on.JS: This will contain JavaScript code, which we'll use to make our website more interactive.
Signing in to jsPad
To save your work, you'll want to sign in to jsPad. Click on the "Sign In" button in the top right corner of the screen. You can sign in with a Google account or a GitHub account. If you don't have either, you can create a free GitHub account at github.com/signup. GitHub is a popular platform for hosting and sharing code.
Next Steps
In the next lesson, we'll begin creating our actual website using HTML. If it isn't already open, we'll start by clicking on the HTML tab of the code editor. This will open up a basic HTML file with some content which we'll replace soon.
Next up, we'll learn to write HTML!